Now that you have twisted your colorful rug cord, there is no limit to what you can create!
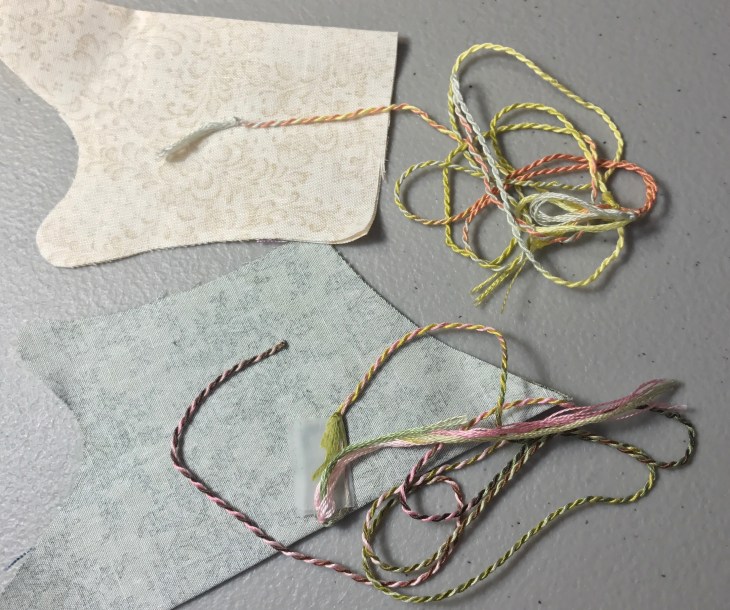
I experimented with quite a few different backing materials for these rugs, including paper and vellum, so you will see a variety of materials in the pictures. While I like to use paper for micro-mini rugs, such as 1/48 or 1/144 scale dollhouse scenes, I found that fabric backing worked best for Hitty-sized rugs, and even for smaller, 1/24 scale scenes.
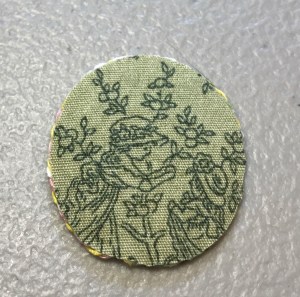
I prefer good quality cotton quilting fabrics. Printed fabrics can be especially fun because you can match the fabric to your rug color, or even center a picture or detail of the fabric print in the back of your carpet.
You will need toothpicks, tacky glue, (preferably Aleene’s Fast Grab), and small sharp scissors in addition to your rug cord and fabric scraps.
Step 1 : Glue the Knotted End to the Backing
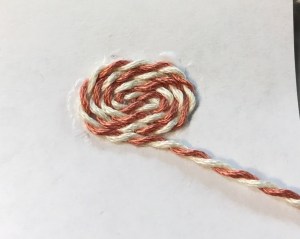
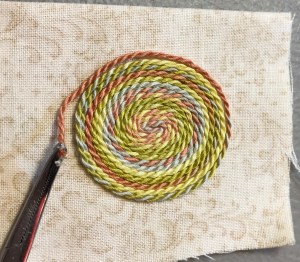
You can make the simplest design with just one cord. Glue the end of the cord to the wrong side of your backing fabric. AFTER THE GLUE SETS, cut away the knot. It’s important to give the glue enough time to set and hold the cord, if not to dry completely. If you cut away the knot before the cord is well anchored in the glue, the cord could unravel.
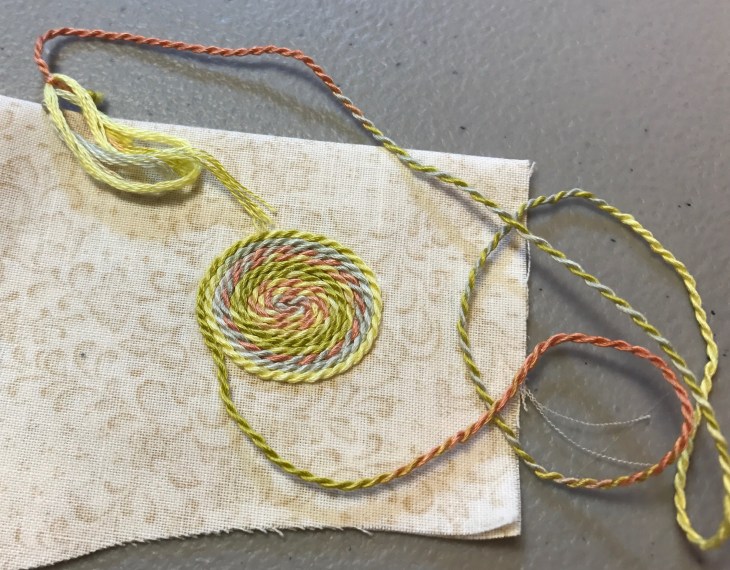
Step 2 : Glue One Round at a Time.
It’s ok if a little glue leaks through occasionally, but for the nicest results you want to try to keep the glue below the cord. We are using Aleene’s Fast Grab Tacky Glue, which is quite sticky and grabs well, but is not wet, and doesn’t soak into fabric or threads.
Using your toothpick or similar tool, lay the glue on the fabric about one round at a time, in a thin line, and lay the cord into it, pressing gently and snugging the cord against the previous rows.
Continue gluing around the outside until you have used up the cord, or as much as you wish of it.
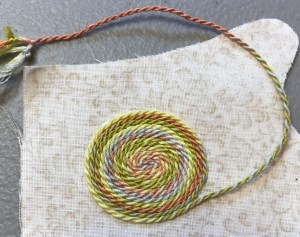
Step 3 : Finish the Edges.
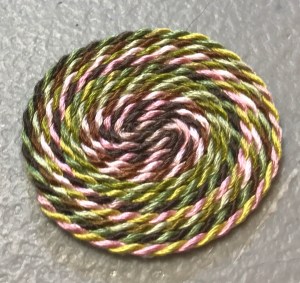
When you have reached the end of your cord, use a clamp of some kind, (I have used my hemostat), to hold the threads of the cord from untwisting, and cut away the knot, tape, or loose threads. Blend the remaining length of cord into the side of the rug and tuck the raw thread ends under the edge, gluing it between the rug cord and backing fabric.
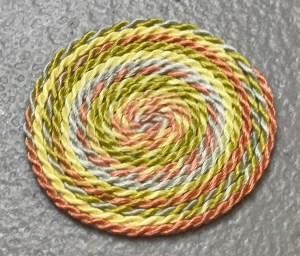
When your rug is dry, trim away the backing fabric around the edges. Use books, a flower press, or other weights to flatten your rug if there is any rippling or cupping after the glue dries.
This rug was centered over a pretty picture in the backing fabric print.
Now you know the basics, and I bet you can think of all kinds of household decor you can make! The following pages will show you some of Hitty Bee’s other designs.
Here are a few more tips to help you along:
-Continue twirling the cords together as you glue- Not all cords will come out perfectly, or as tightly as you’d like. You can continue twirling the two flosses together as you glue your floss down into your rug.
-Glue your cord Clockwise- Some of my examples show the cords being glued in a counter-clockwise direction, but I found that the cord is easier to glue down if it’s glued in a clockwise rotation. You may wish to try both directions for a different feel.
-Press Gently Down, then Snug Inward- As you glue down your cord, lay it and then press it gently down into the glue, then snug it inward toward the previous row.
-Don’t Stretch the Cord- This is important to prevent cupping or warping, especially on a larger rug. Lay the cord down into the glue without any pulling or tension. I found I sometimes stretched the cord a bit when I was smoothing it so make sure not to pull it tight as you glue it down.
