
You will need Epoxy glue and several toothpicks, as well as a disposable plastic or coated cardboard surface for mixing the glue. I like to use 5 minute quickset epoxy in translucent yellow. I have had good luck with Loctite brand epoxy although I haven’t had good results with the ‘gel’ formulation. Make sure all the pegs are ready and all parts fit together well before dispensing your glue.
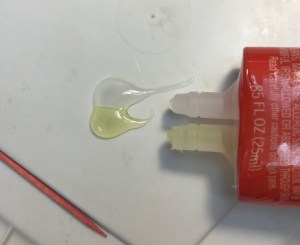
Epoxy glue comes in two separate tubes that you will mix just before use. Make sure to work in a well-ventilated area. Dispense two equal quantities and mix very thoroughly with a toothpick. Scrape the glue back into the center as necessary to make sure all of both components is included and well mixed.

Epoxy will not set if it isn’t properly measured and mixed. It has to be done very precisely, but not so perfectly it can’t be done by eye.
If you are inexperienced with epoxy or concerned about judging the quantities, try a test run, or ask a handy friend for help. Mix a small amount and glue something unimportant, or nothing at all. Let the glue set to make sure it works and that you understand how to dispense and mix correctly. Heat or humidity may affect setting and drying time, and epoxy goes bad more quickly than most glues, so it’s a great idea to test if you have any concerns about the age of the glue you’re using.
Even if you’re experienced, you may mix a bad batch or occasionally have glue that’s too old, (even if it’s newly-purchased) so after each gluing task set the extra aside to make sure it ‘sets up.’ Before testing your Hitty’s movements, check the leftover on your toothpick to make sure it hardened.
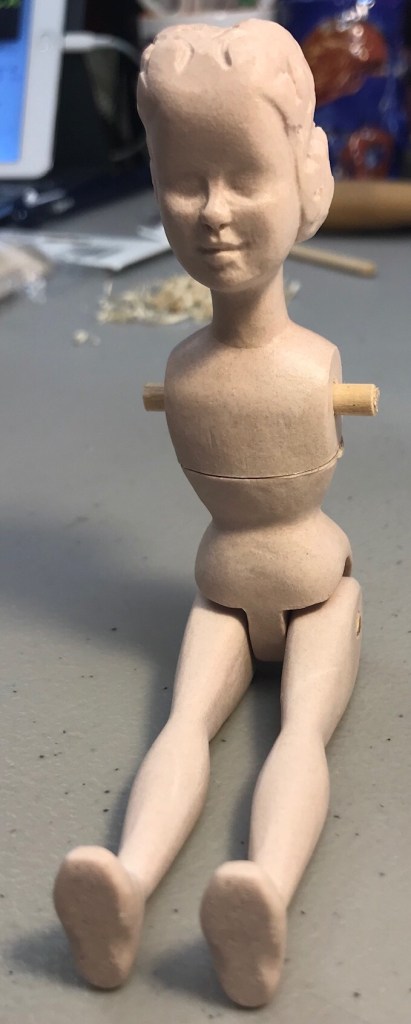
STEP 1 – Glue the Head to the Body
If your head is already attached you can skip this step.
When you’re ready to glue your Hitty, mix a small batch of epoxy as instructed above. Place both legs on the body and place it in a sitting position. (Legs are not yet glued.)
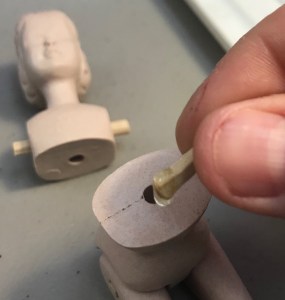
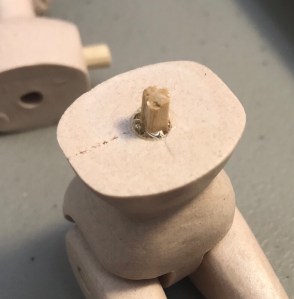
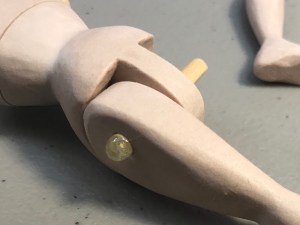
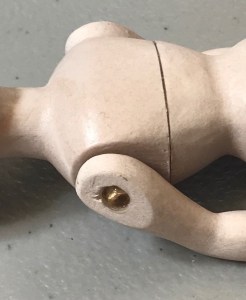
Use the body peg to scoop a large dollop of epoxy and set it firmly in the socket in the doll’s waist. Use a new, clean toothpick, (not the same one you used for mixing), to spread glue on the flat portion of the lower body, ending a little way from each edge, as shown.
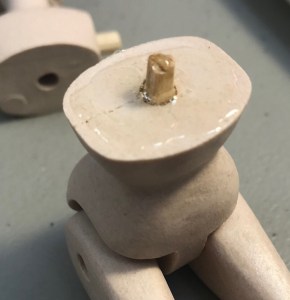
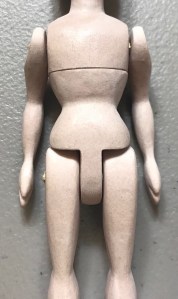
Fit the head down onto the lower body portion and line them up carefully. Use the arm pegs as a guide to be sure the head is on straight. Press the head firmly down onto the body. It’s ideal if the glue fills to the edge, though not strictly necessary, and a little may seep over the edge. It’s usually easiest to remove any drips or excess after drying.
Use the arm pegs as a guide to be sure the head is on straight and make a final check before sitting her in a safe spot to dry. Let the glue set for at least an hour before going on to the next step. It won’t be fully hardened until after 24 hours.
STEP 2 – Glue the Legs
Mix a small amount of glue as described above. Using a new, clean toothpick spread glue in the opening in one of the legs.
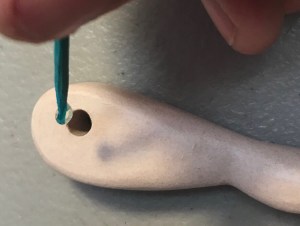
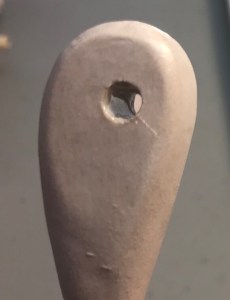
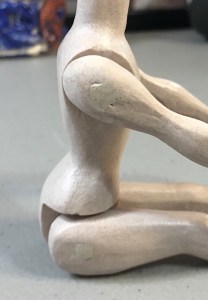
Coat the inside of the socket very thoroughly, then slide the leg onto the peg and fit it snugly against the body. Glue will drip out out the outside and you can catch it with a toothpick or clean it away after it dries. Repeat for the other leg.
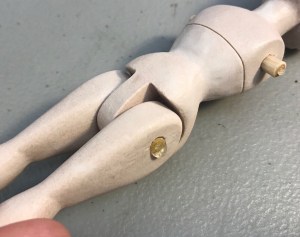
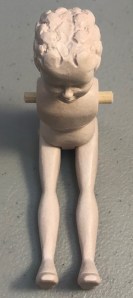
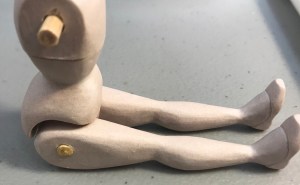
Place the doll in a sitting position and press both legs snugly in toward the body. Place her on a flat surface so legs are even with one another. Allow glue to set for at least one hour in this position before going on to the final step.

STEP 3 – Glue the Arms
Trim the ends of the arm pegs so that there is plenty of space in the arm socket for glue and to position the arm.
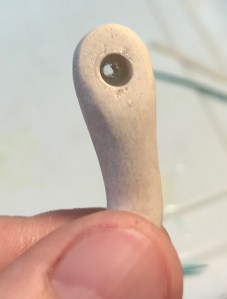
Mix a small batch of epoxy and spread it very thickly in the arm socket. Slide the arm onto the arm peg and repeat on the other side. There will probably be drips so those can be cleaned now or later.
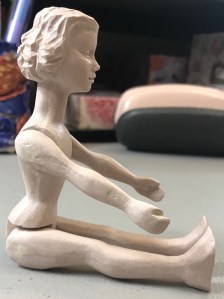
Lay the doll flat on her back to dry. Position the arms snugly against the body at the shoulder/peg joint, but position the hand a little distance away from the hip/leg, and make sure the spacing matches on either side. Allow the doll to dry at least an hour before handling.
If glue or pegs extend outside the body, you can trim these away with a sharp craft or carving knife. I highly recommend waiting the full 24 hours or more before trimming the peg ends. The glue will be set enough for gentle handling after an hour but the joints will be weak for at least a day. Trimming the end of the peg too soon can stress the joint enough to pop the glue away from the resin.
You can leave the peg ends as-is, sand and varnish or paint over them, or use JB Weld Kwikwood Epoxy Putty in Basswood color to fill the ends. Here is Hitty Grace to model Kwikwood:
Happy Hittying!
