Our next step in Hitty Bee’s Holiday Wardrobe is to stitch the neckline. This works the same way in both blouse designs. While we’re at the sewing machine, we’ll also do the next steps on the skirts, which mostly go together the same way regardless of the type of top they’ll be paired with.

Step 4 : Stitch The Neckline
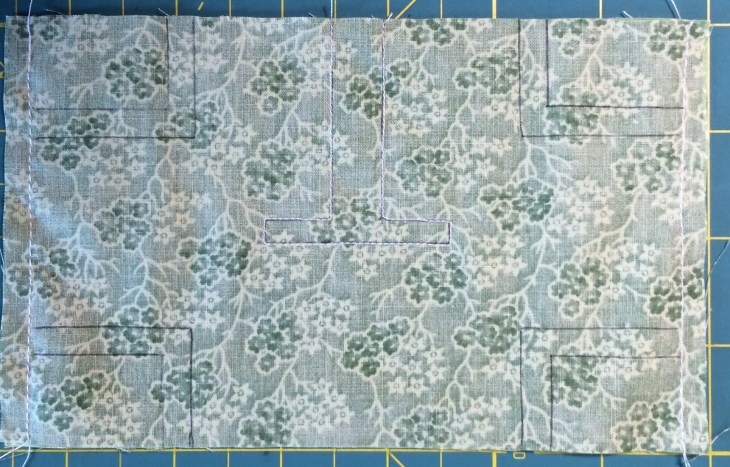
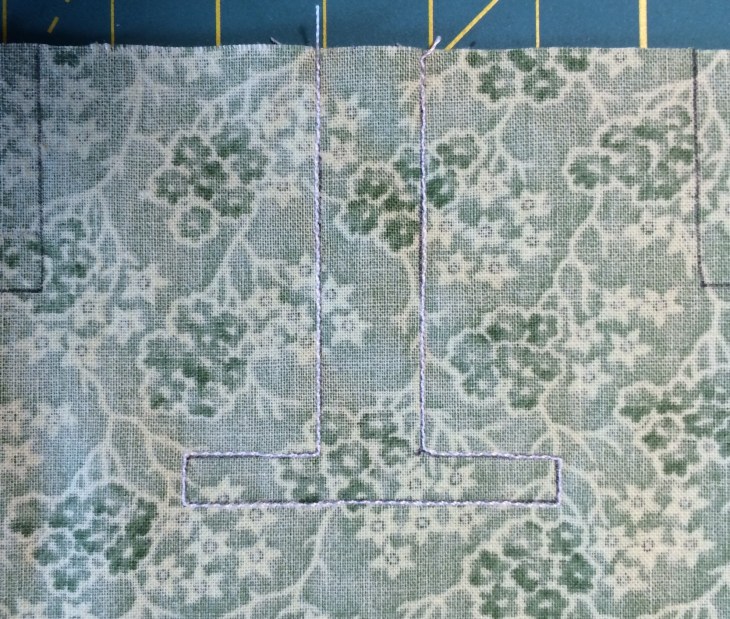
Stitch the seam that will make the neckline and back opening, sewing directly on the traced line as shown. Use a shorter than normal stitch length if you’re machine sewing, and I recommend a backstitch if handsewing. On my sewing machine, I use a stitch length of 1.5. Normally I’d recommend a stitch length of 1 on the machine, but we need this neckline to be a little softer and more flexible since it will be gathered.
Step 5 : Trim and Turn the Bodice
Now it’s time to trim some excess fabric, and turn the blouse right-side out. The underarm lines we traced are sewing lines, so it might be useful to draw cutting lines 1/4 inch outside the sewing lines. I always think I can do this cutting by eye, and then my seams don’t line up properly later on. It’s worth it to draw in the cutting lines for precision.
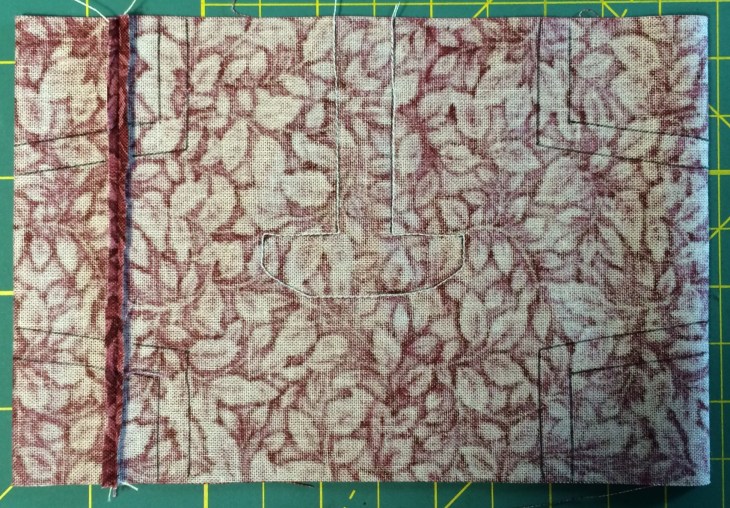
We could have simply traced the cutting lines at the beginning by having the seam allowance on the paper pattern piece, but the sewing lines under the arms are an extremely important guide in the coming steps, so we traced the sewing lines from the pattern and add the cutting lines now.
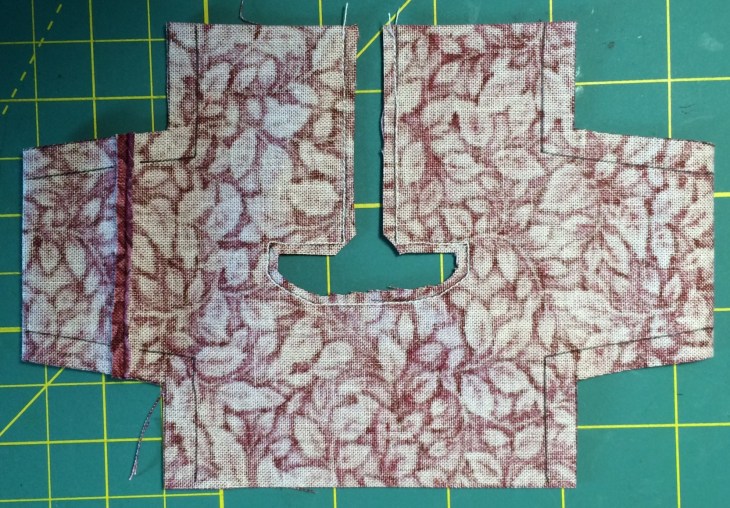
Cut the excess fabric from all four corners, 1/4 inch away from the sewing line, on the cutting line.
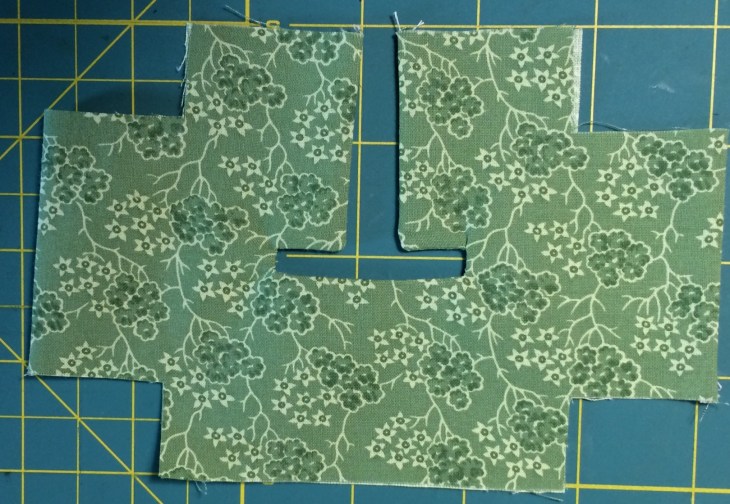
Then trim away the fabric to create the neckline and back opening, as shown. I recommend 1/8-inch seam allowance here, but you should use your judgement based on your individual fabric. The straight edges of the back opening don’t have to be cut too close, but the neckline itself should have the smallest seam allowance the fabric will tolerate without tearing out.
I do not recommend using a fray block product, as I might normally do, since we want the neckline to remain soft.


Clip the corners and curves of the necklines as shown above.

Turn the pieces right-side out, and press flat with your iron.
Step 6: Stitch the Skirt Ends
Now is a good time to do the next step on the skirts as well. Turn the fabric until the seam is about 1 inch from one folded edge, and press flat. Press the seam toward the closer edge. Using a regular stitch length, stitch both ends closed, leaving a small opening in the center of one of them for turning. You can turn the skirt(s) and press them flat now if you wish, or set them aside to be ironed after the next sewing stage on the blouses.


